Image Transferring
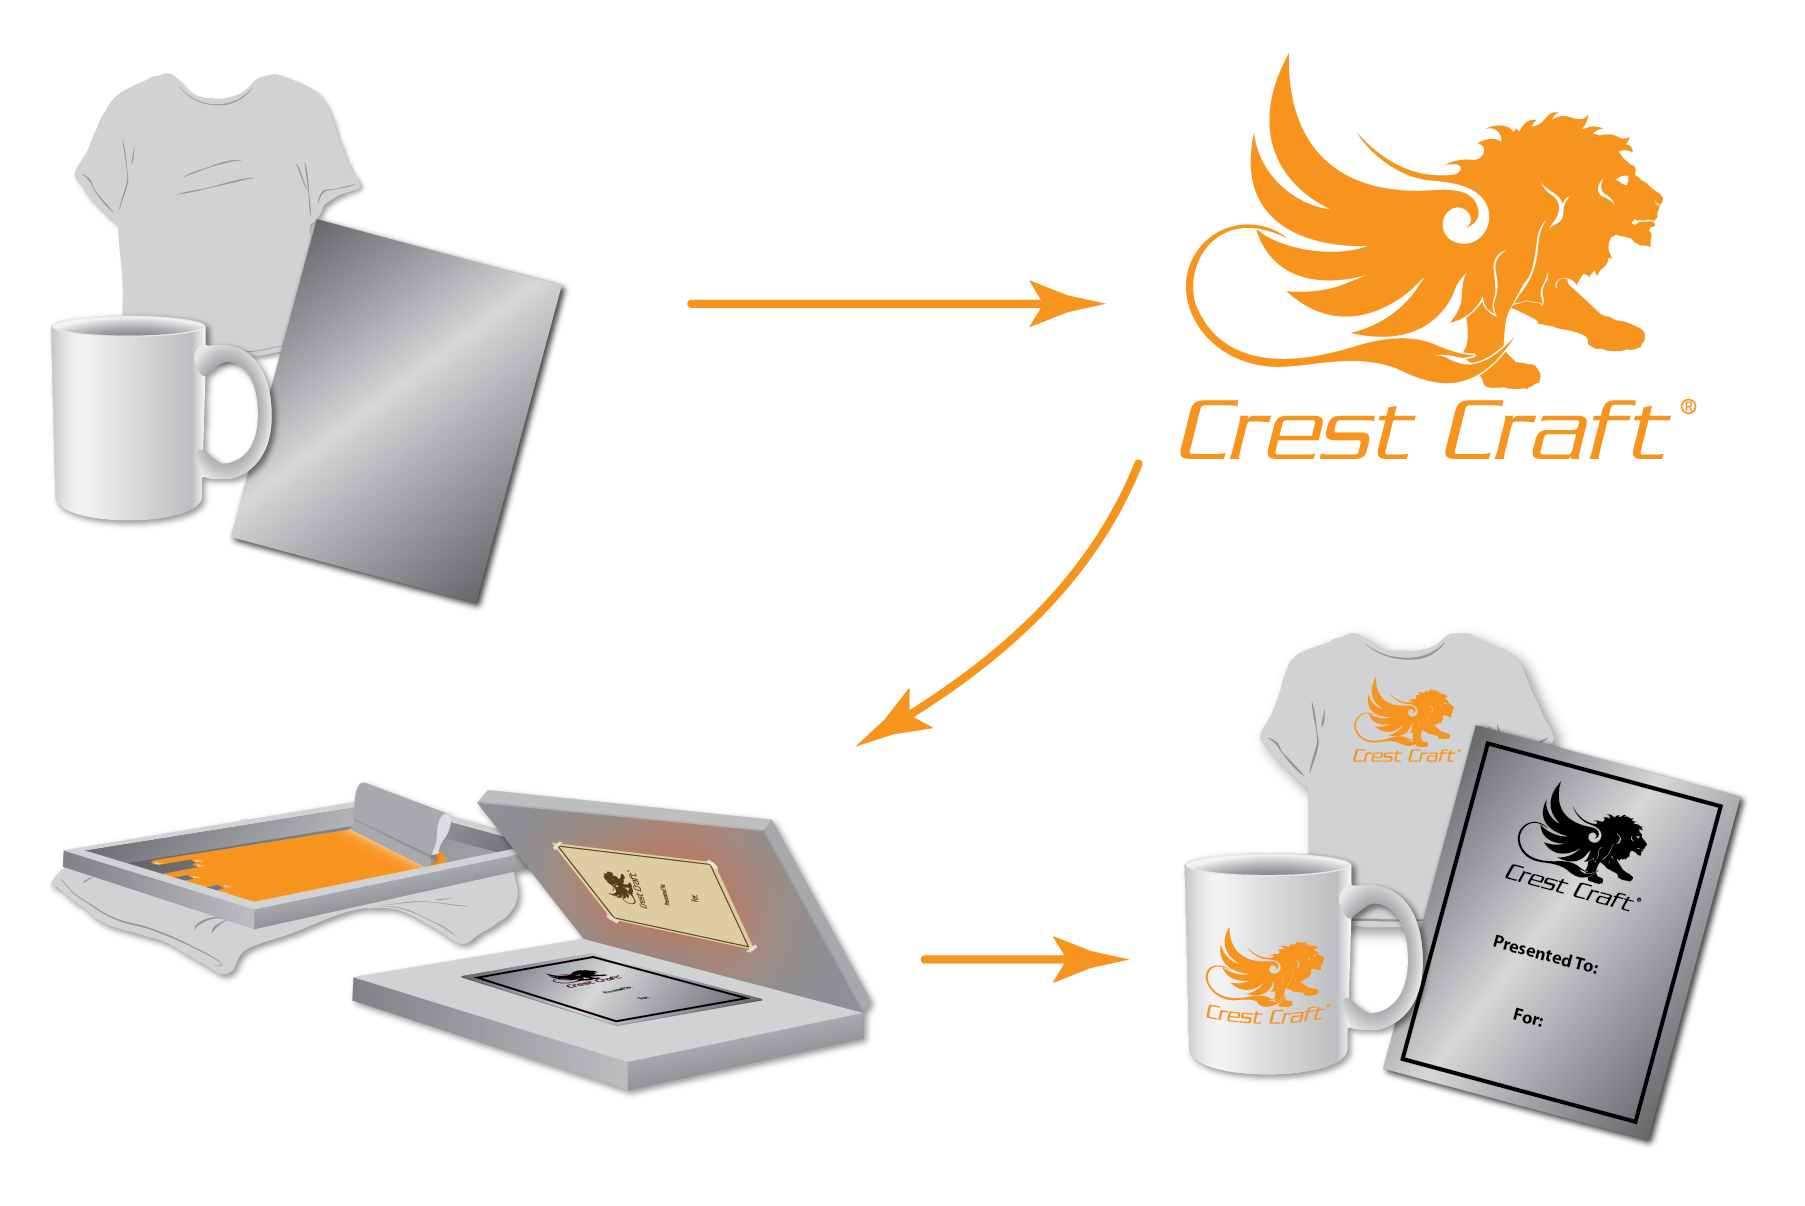
Image transferring can be simply described as the process of taking an image, logo, and/or design and replicating it onto the surface of another object. This process is ideal for creating unique and customized products. Crest Craft utilizes two primary methods of manufacturing for image transfer; sublimation and screen printing. By utilizing two methods of image transferring techniques Crest Craft can offer affordable production runs for low, medium, and large volume orders.
Sublimation
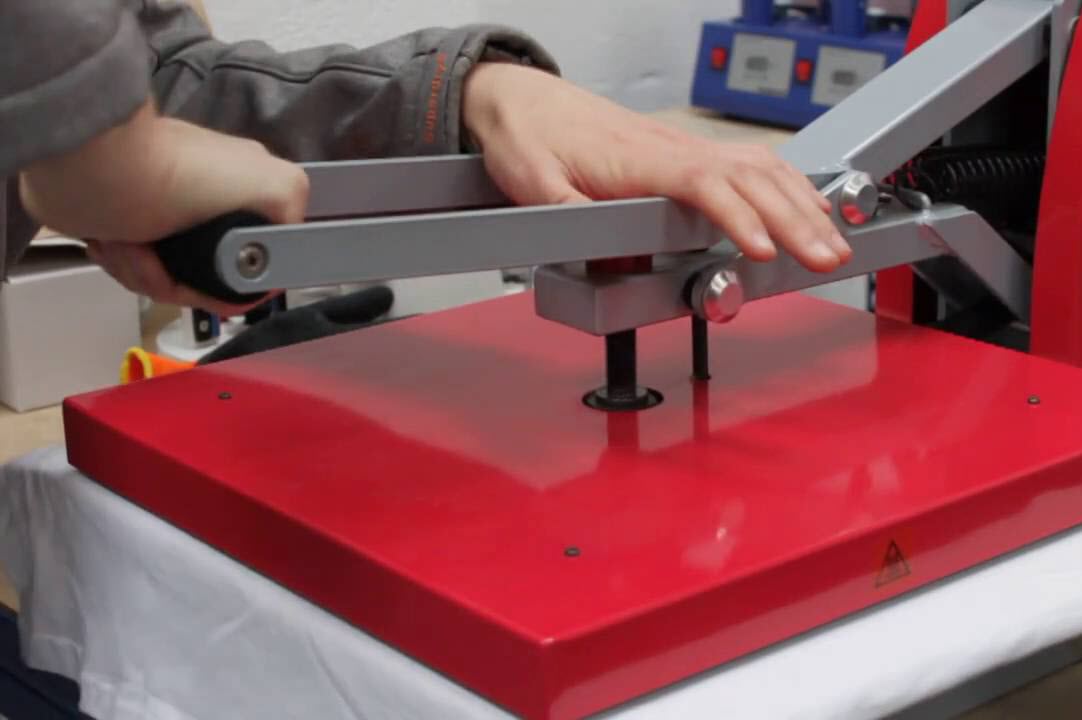
The technical definition of sublimation is a chemical process that turns a solid into a gas without passing through the liquid stage. In printing and awards creation, sublimation is a popular method for transferring high-quality images onto plaques and other products because it is much more efficient and cost-effective than other techniques.
The process of transferring an image onto a product through utilizing sublimation is a great way to customize products. The general rule of sublimation is that an image may be transferred onto any surface that contains polyester coating. This can be done to t-shirts, mugs, and any item that has a flat surface. Some of the more popular transfers occur on wood pieces, aluminum, and/or granite surfaces, however any surface can be a candidate for sublimation.
The Sublimation Process
There are several steps involved in moving from an idea on a piece of paper to a custom award.
- The design is created. First, a design must be created and finalized. Sublimation allows for a lot of detail and is ideal for complex designs or designs that require photo clarity.
- The design is printed. Once finalized, the full-color design printed onto heat-resistant transfer paper using special ink.
- The plate is created. Then, a sublimation heat press stamps that design onto a metal plate. The pressing process ensures that ink can transfer to the final product with full clarity, preventing any potential for bleeding or dotting.
- The plaque is created. Once the design is transferred to the metal plate, it is attached to a plaque, creating a beautiful custom product.
Screen Printing
Screen printing, also called silk screening, is a technique that is very similar to stenciling but is much faster and offers the ability to create detailed designs quickly. In screen printing, a design is set onto a silk screen or fine mesh screen. Ink is then forced through the screen with a squeegee.
With so many advancements in digital printing, many people wonder why screen printing is still such a popular technique. First and foremost, screen printed designs are much more durable than digitally printed designs. With screen printing, the ink gets absorbed completely into the fabric and lasts for much longer. Digital printing limits color options and final color matching isn’t always perfect whereas screen printing uses true colors. Screen printing is also much more cost-effective for large, bulk orders.
Broken down, the screen printing process works this way:

- A design is created. This could be a logo, a design made to commemorate a conference, retreat or event; it could be an award or some other form of recognition, as well.
- The design is printed and stencil is created. The finished design is printed onto a transparent acetate film that will be used to create the stencil.
- The stencil is applied. There are a few ways to get the stencil onto the screen. It can be created using ‘screen blockers’ with glue or lacquer, or more commonly, a light-sensitive emulsion is created and applied to the screen.
- The emulsion is exposed. Next, the acetate stencil is laid onto the emulsion-coated screen. A very bright light is applied to the screen to harden the emulsion. The parts of the screen covered by the design remain liquid.
- The process is repeated for each color. For multi-colored designs, a separate screen must be used to apply each color.
- The emulsion is washed away. After the emulsion is set, the un-hardened emulsion covered by the acetate film is washed away, leaving a clear imprint of the design for the ink to pass through.
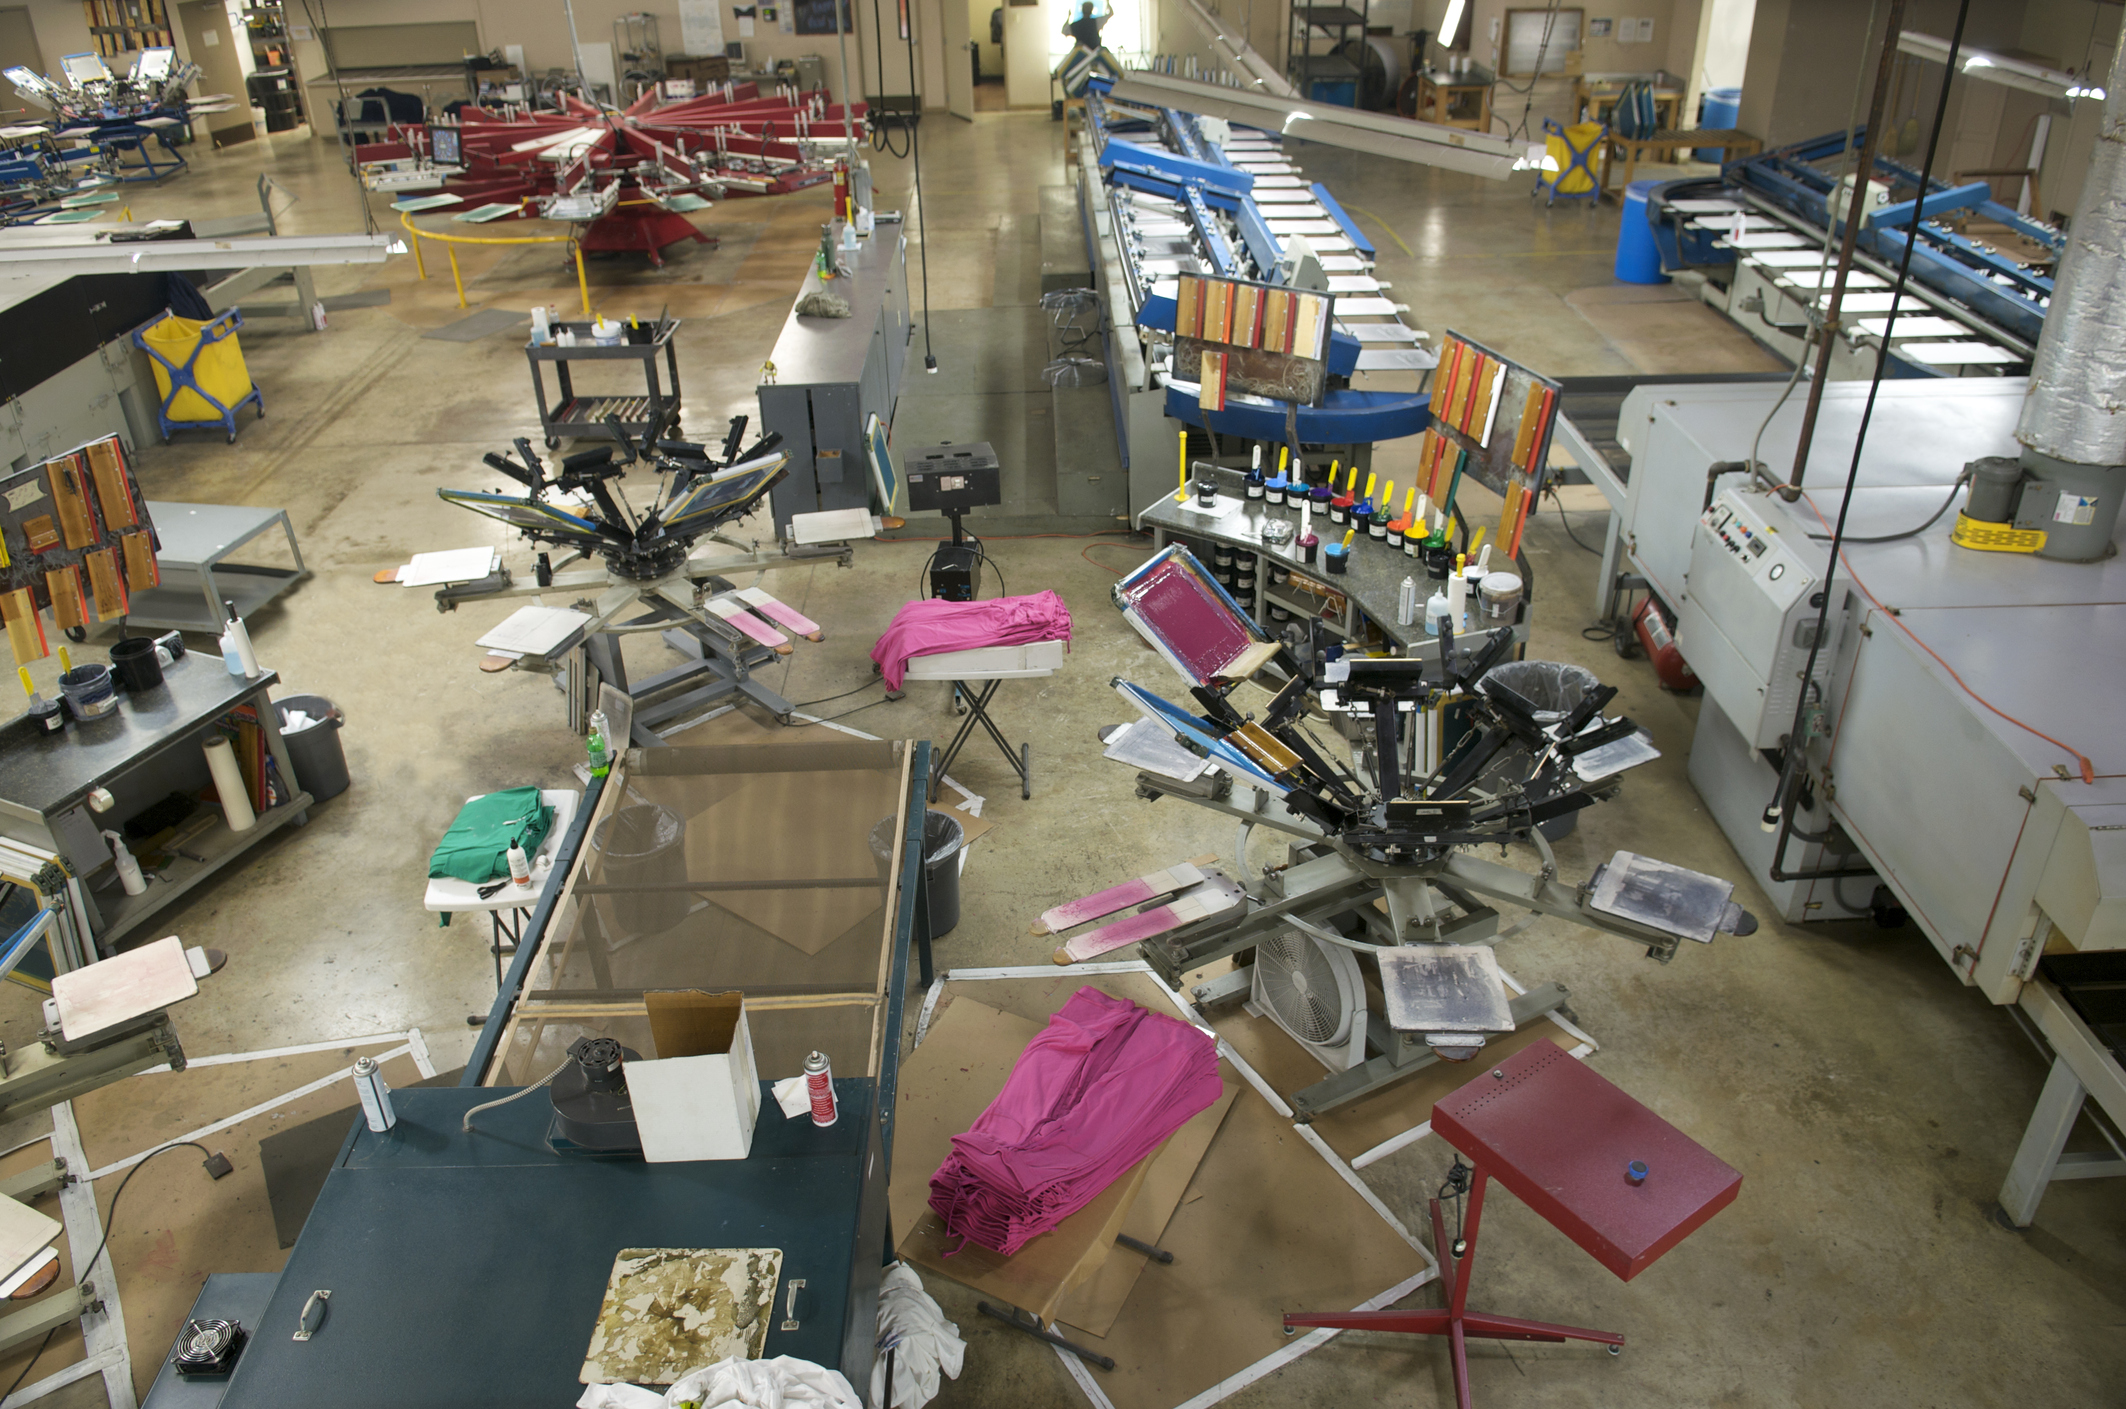
- The printing press is set up. Once the screen is dry, it is placed on a printing press. The garment or item being printed is placed on a printing board under the screen. Using an automatic rotary carousel printer, several screens can work at once to apply separate colors quickly.
- Printing begins. Next, the screen is lowered onto the board and ink is pulled across the length of the screen by a squeegee. This presses the ink through the open areas of the stencil, imprinting the design on the garment.
- The print is finalized. Finally, the printed garment is passed through a dryer that cures and finishes the ink. It is washed to remove residue before being passed on to the customer.
- The emulsion is removed. Once the items are all printed and the stencil is done, the emulsion is removed from the screen using special cleaning fluid. The screen can then be re-used for its next design.